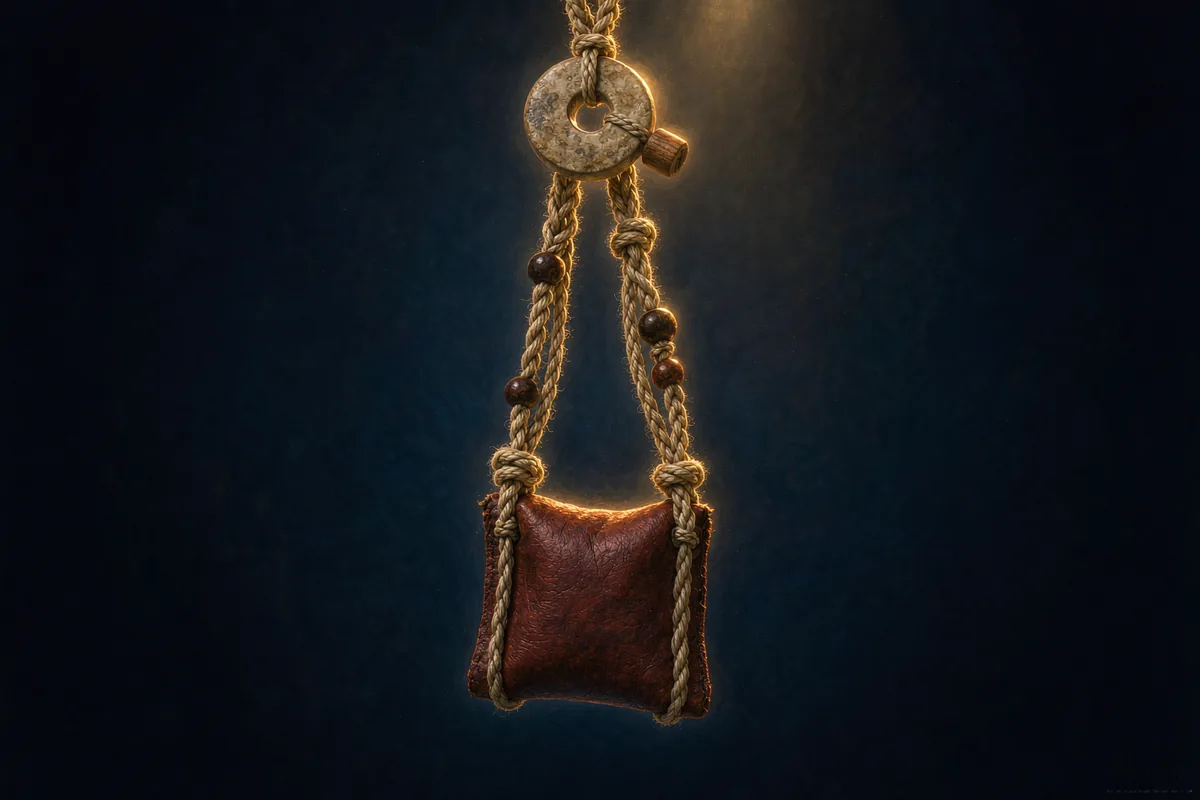
A rune amulet you have carved yourself is the most intimate form of rune work: you choose the rune, transfer it and charge it with your intention — a piece of jewellery that carries precisely your energy.
Step 1: Choosing the rune
The classic for protection is Algiz ᛉ (elk sedge/protection rune) — the rune of protection and spiritual connection. Alternatives: Fehu ᚠ for abundance, Uruz ᚢ for strength and renewal, Berkano ᛒ for new beginnings, Ehwaz ᛖ for partnership. Do not choose intellectually: read the meanings and sense which one "chooses you".
Step 2: Material and timing
Traditionally wood from supporting trees: ash (the world tree Yggdrasil), oak, birch. A piece the thickness of a branch, 4–6 cm long, is enough — never cut from a living tree without thanks and permission. A favourable time: waxing moon for intentions of growth, waning moon for protection and release.
Step 3: Transferring and carving
Draw the rune in pencil first. As you carve (lino cutter, knife — cut-resistant glove!), say the rune and its intention quietly. For Algiz, for example: "Algiz, guardian branch, shield me by day and by night."
Step 4: Consecration
The classic formula: nine nights under your pillow, then consecration with the four elements — smoke (air), candle flame (fire), water, and a pinch of salt or earth (earth). Afterwards wear it on your body or hang it up where it can be seen.
Living with the amulet
An amulet is not a tool but a partner: touch it consciously in difficult moments, thank it after good days. Re-consecrate it once a year — best on your birthday or at the winter solstice.
 Runes: The Ancient Wisdom Codes of the North
 The Daily Rune: Guiding Your Day with Rune Stones
 Seven Signs of Spiritual Opening (and How to Accompany Them)